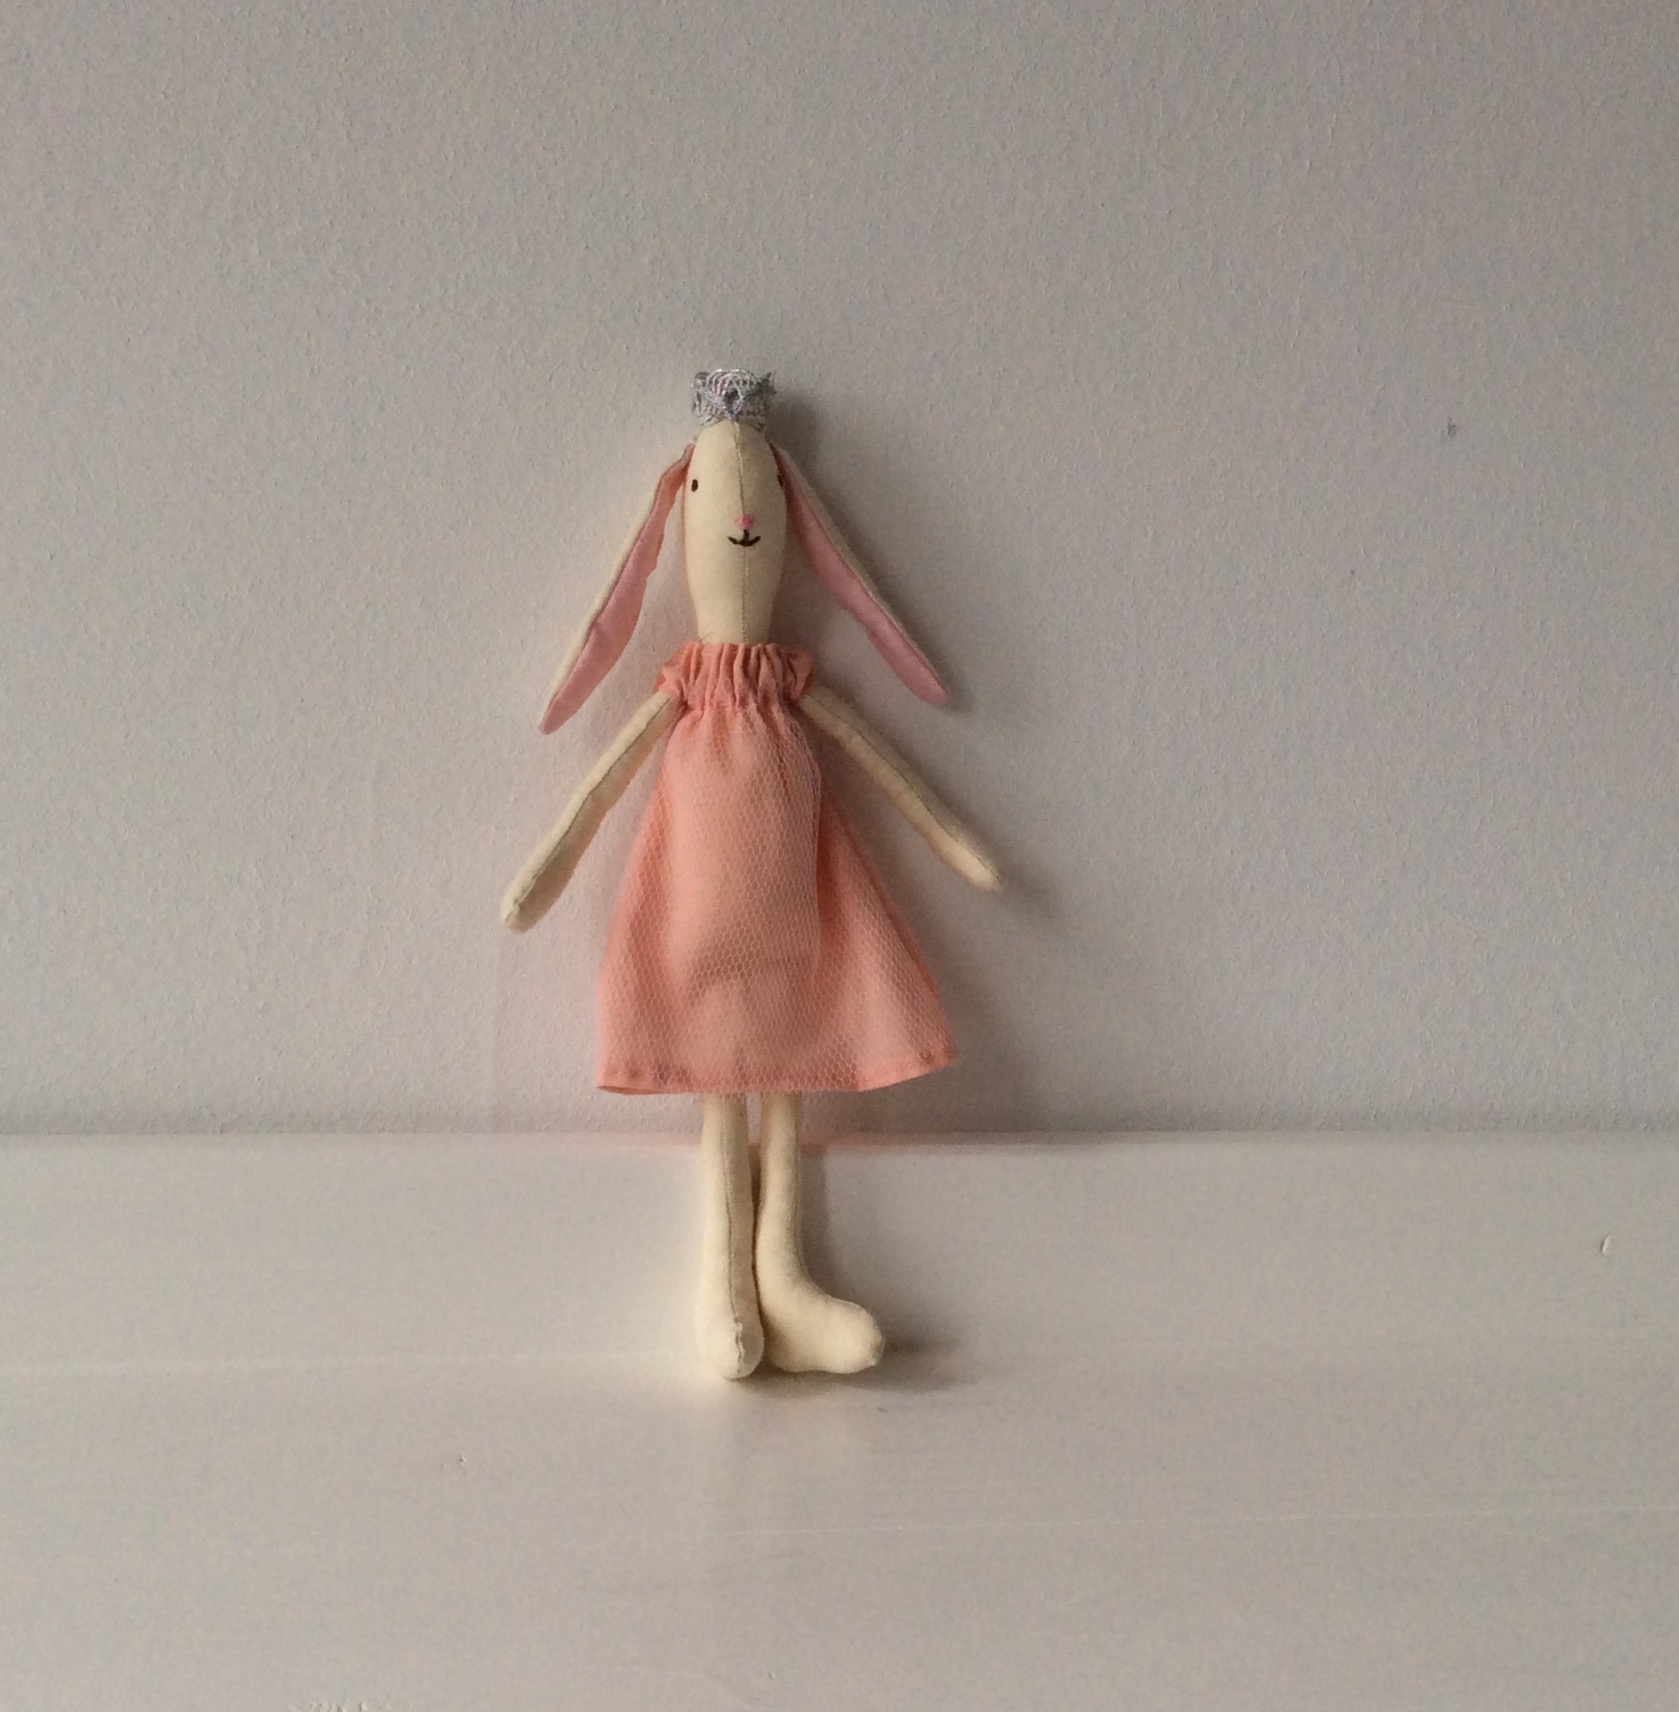
 There it is, my first homemade Maileg bunny. I'm happy with the end result. It's based on a 23cm bunny. The first resident for the large dollhouse. I thought it best not to start too small, because how to make the micro... I have no idea! Below, I'll explain how I made this one, the mini.
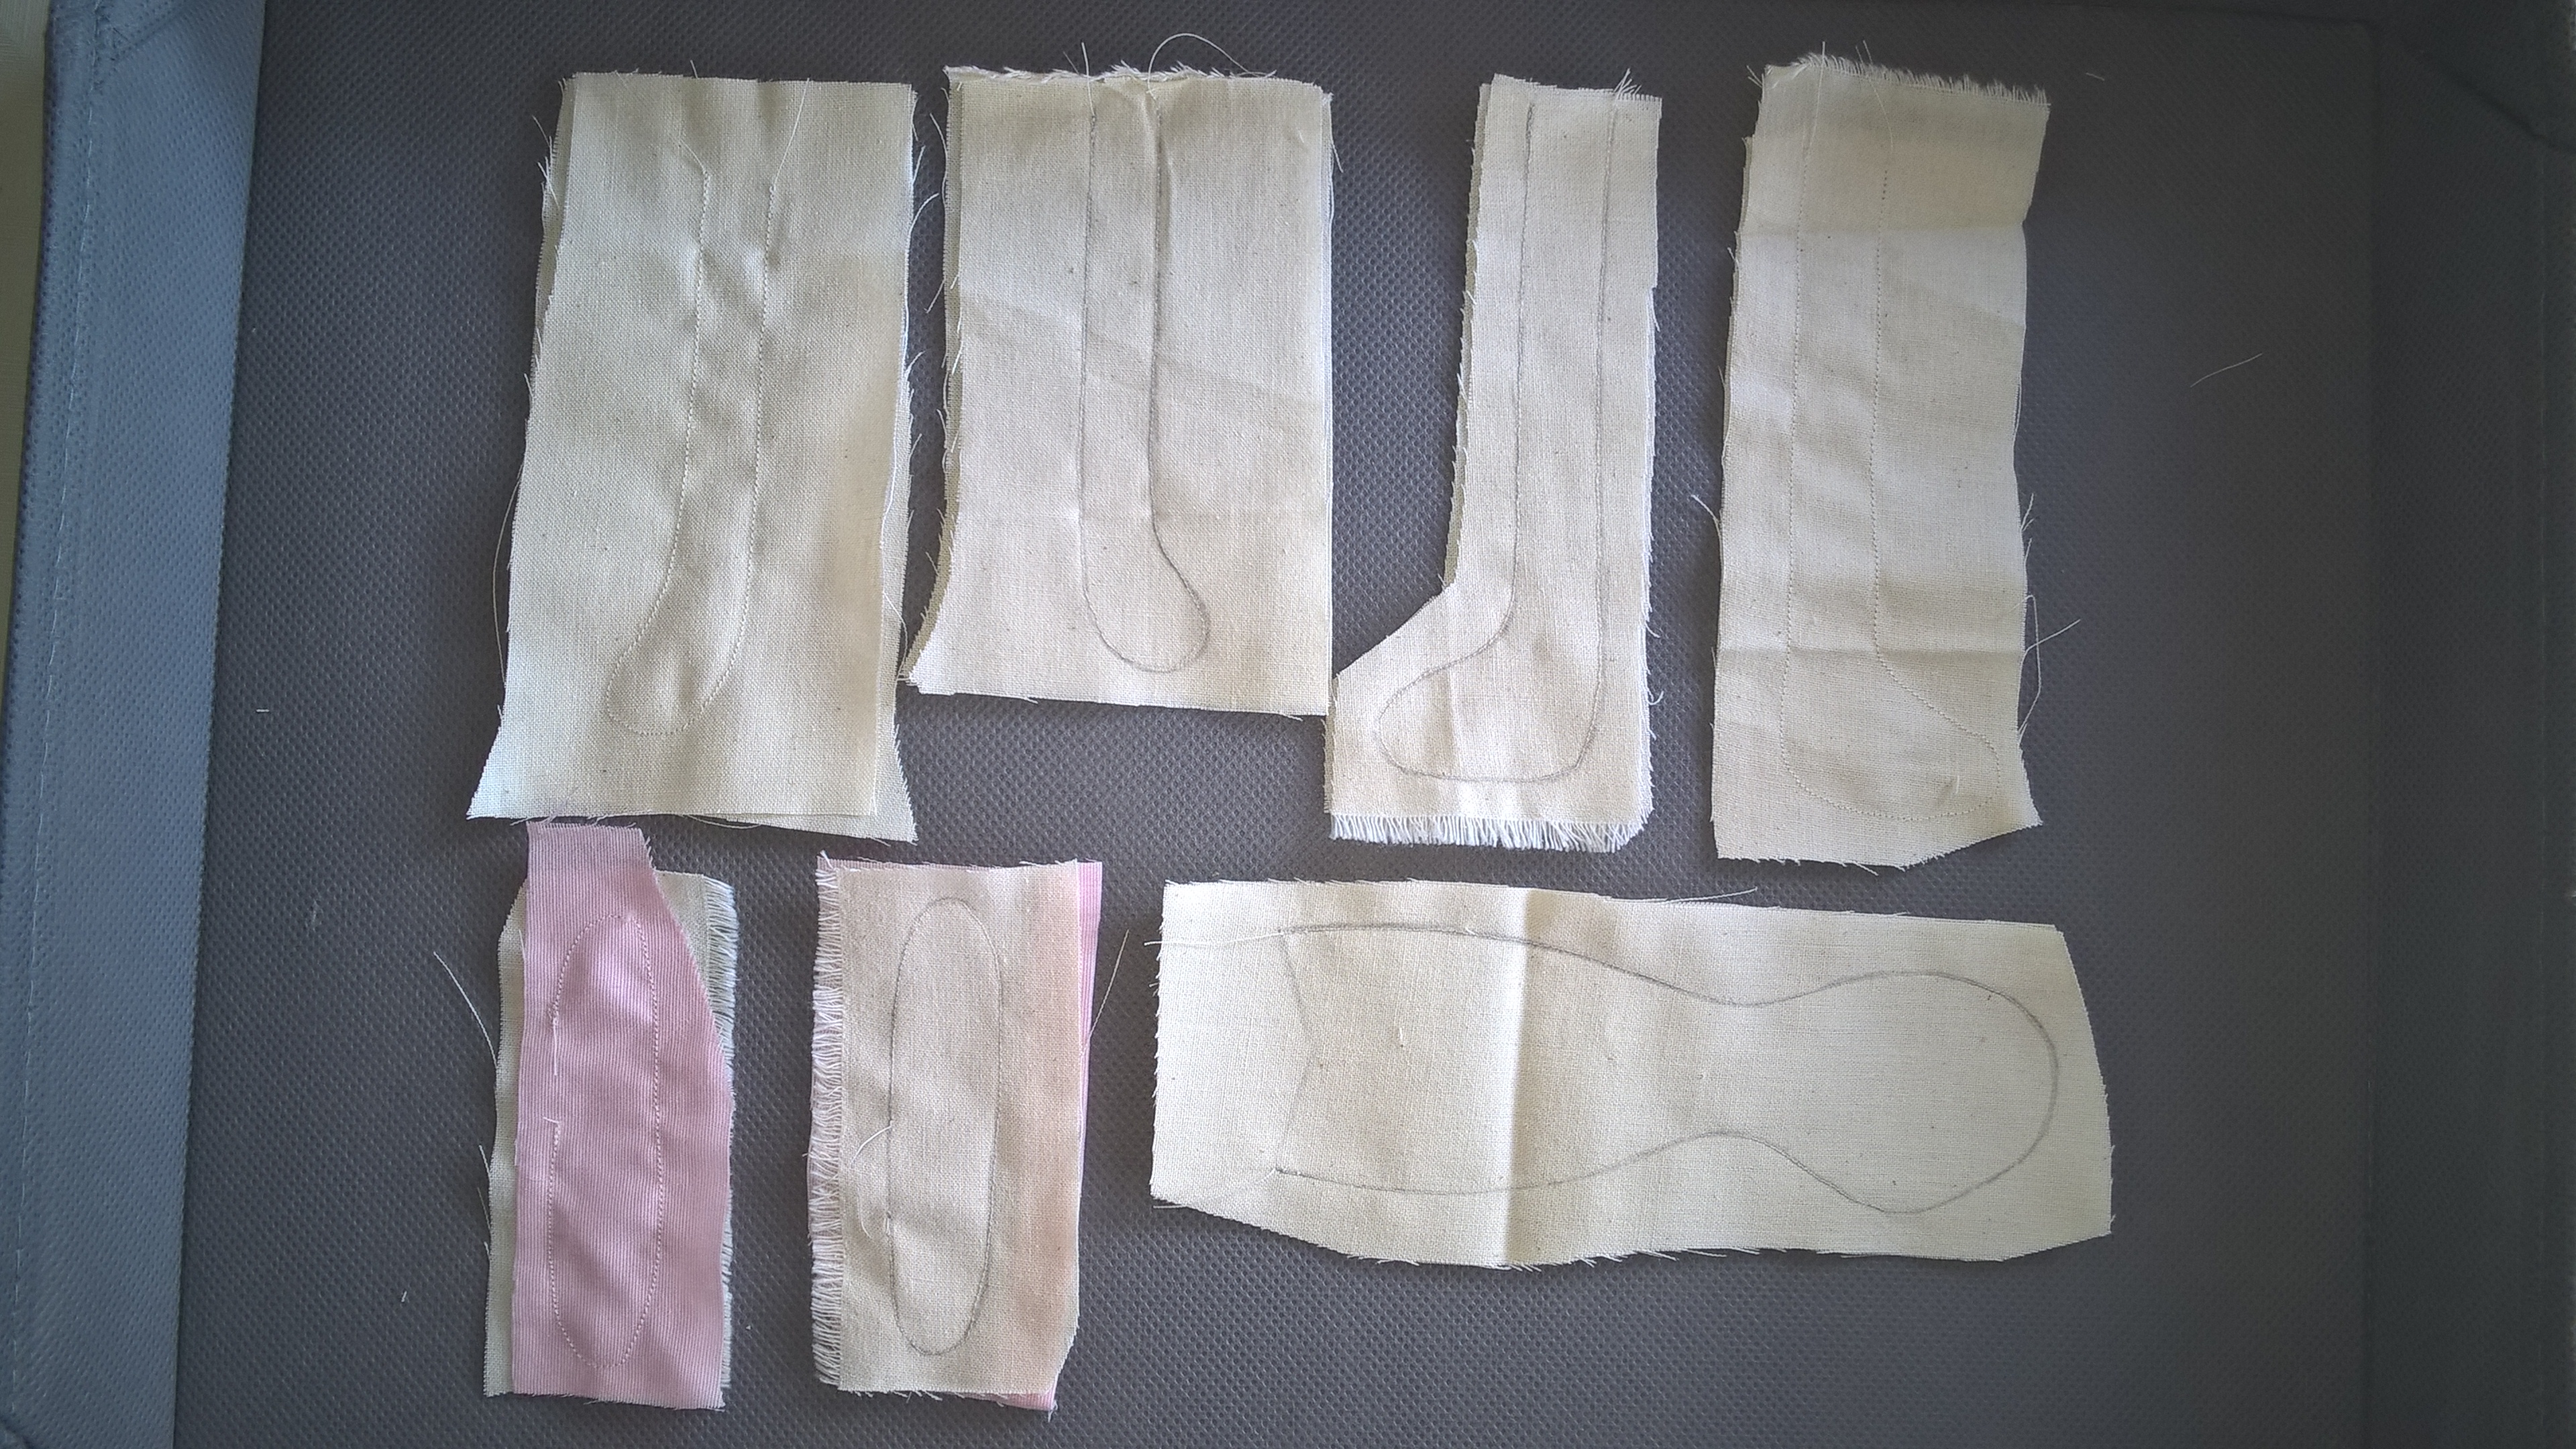
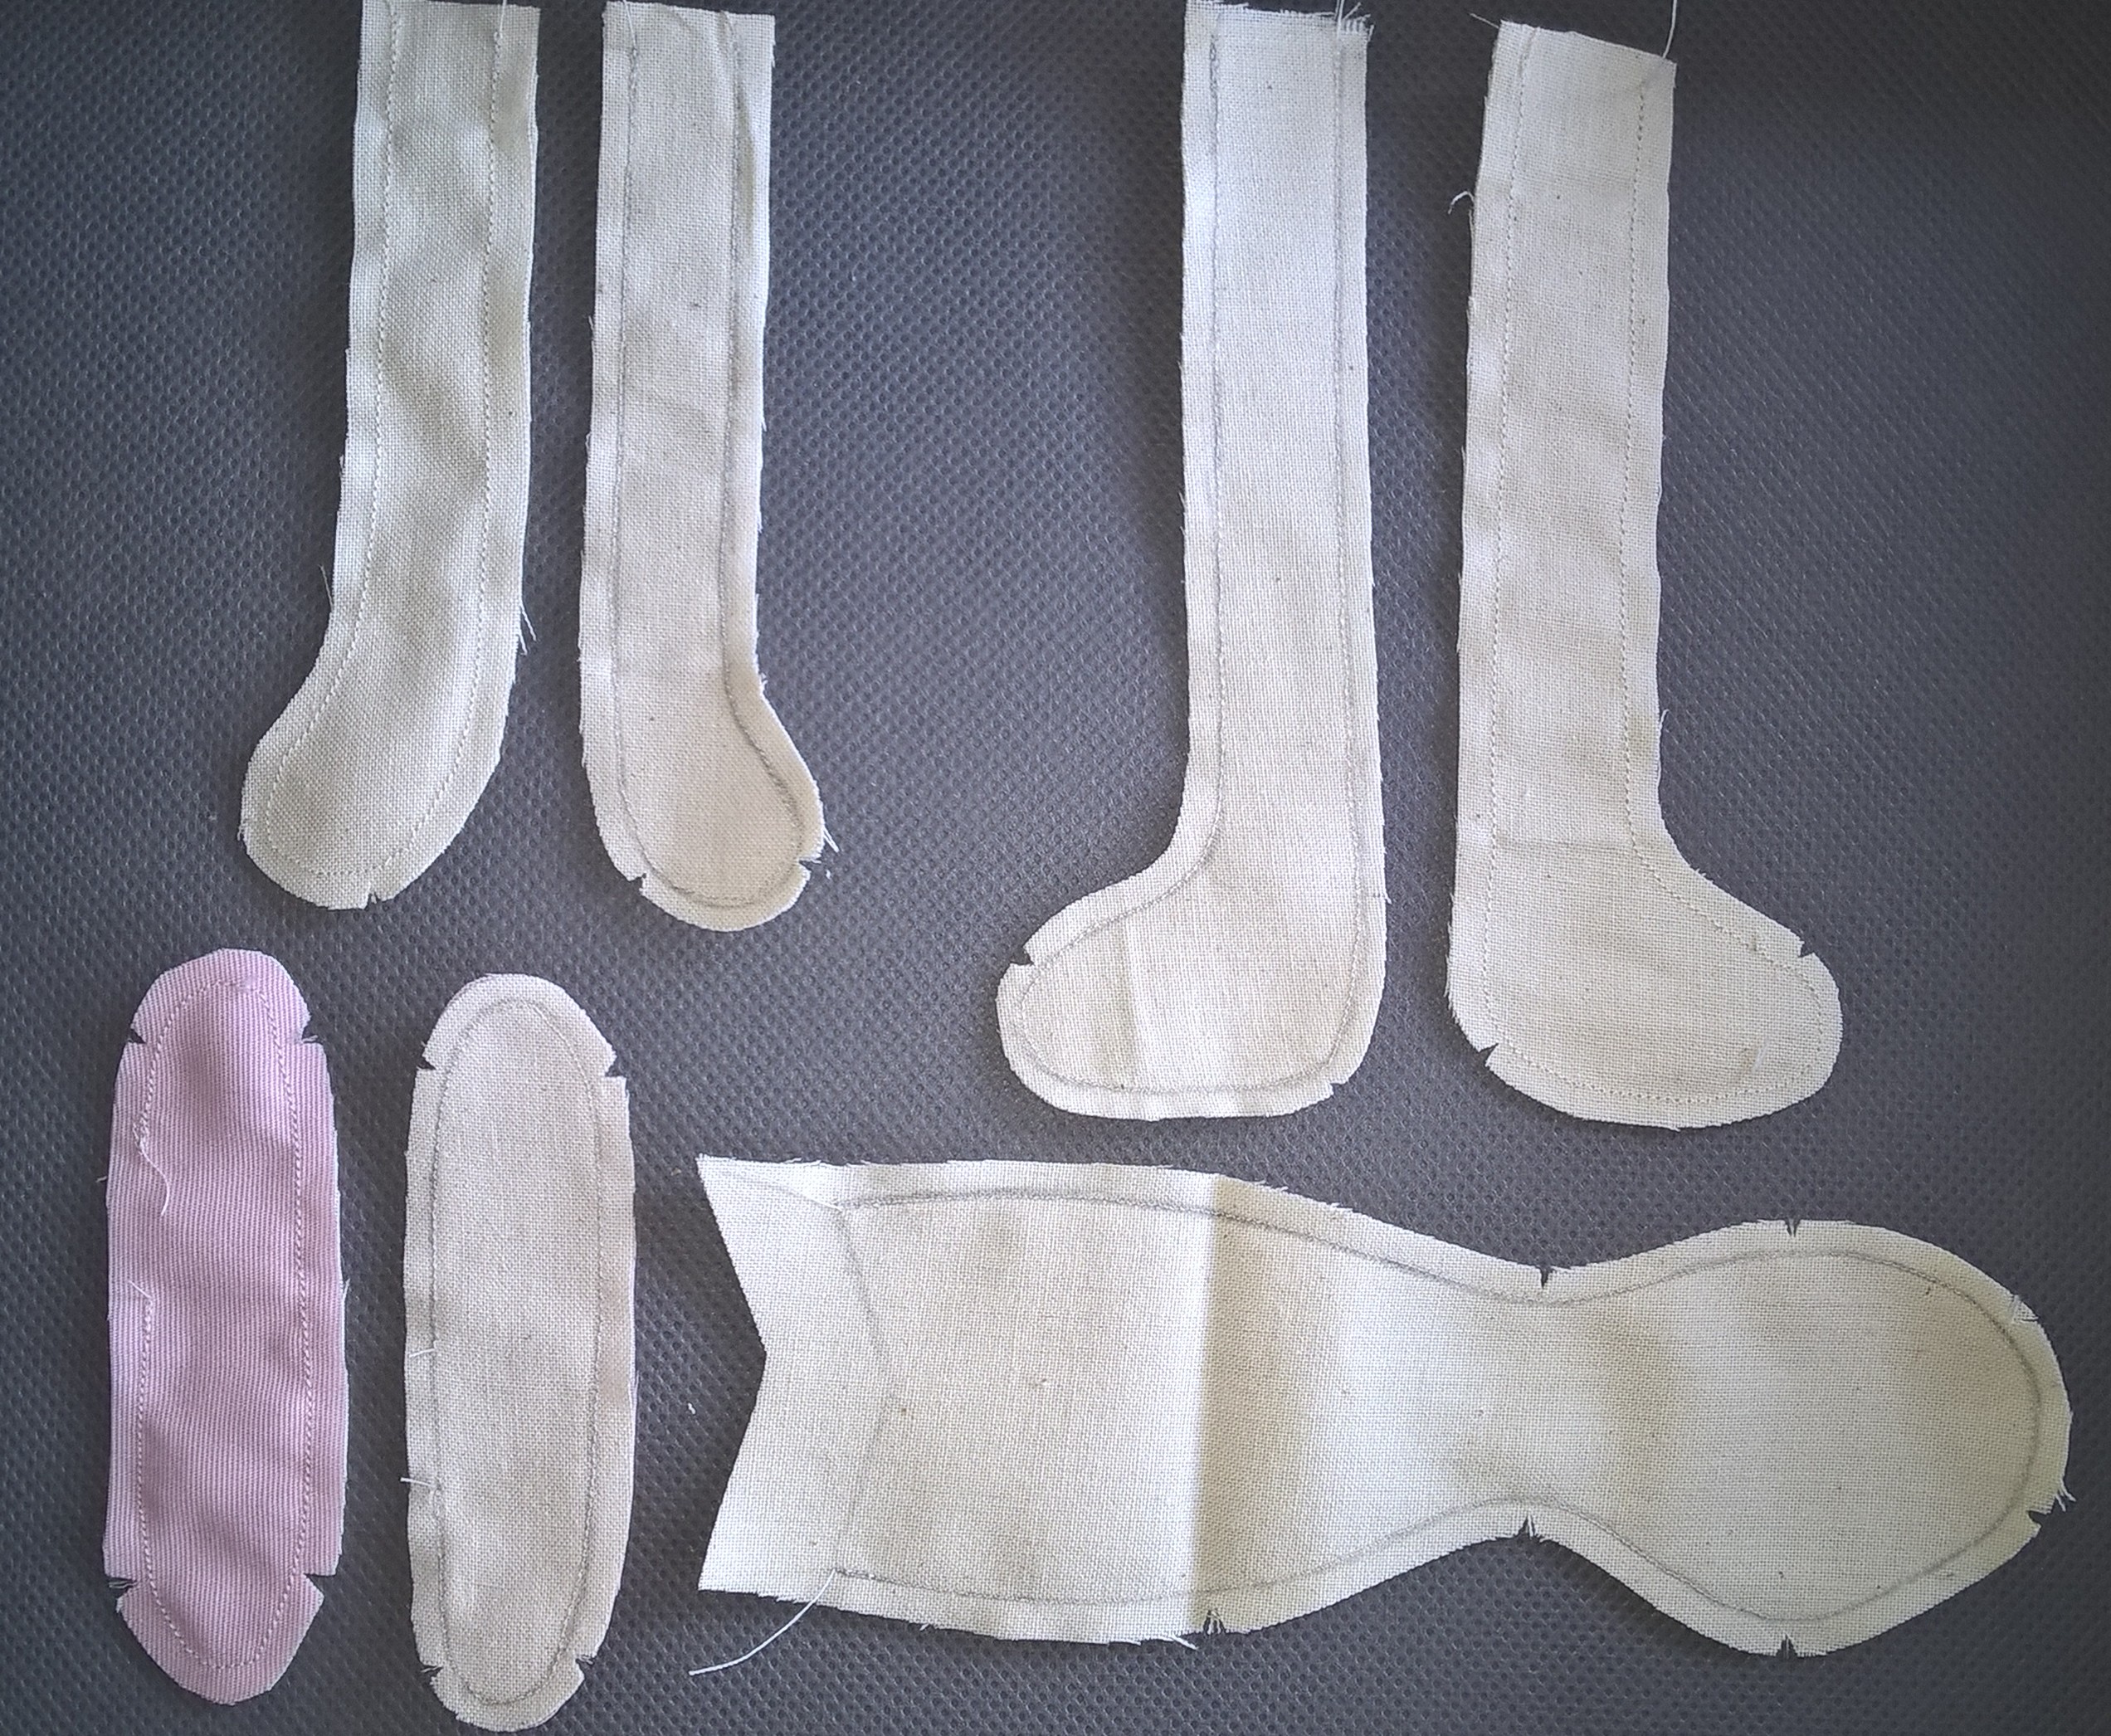
First, I made my own pattern. I think this bunny is a bit thinner than the real one, but I don't mind. Then I placed the pattern pieces on the fabric and roughly cut them out. This doesn't have to be precise; you can trim around the edges after sewing. I'm sewing on the machine with a very small stitch so you can easily sew around the curve. Don't forget to make snips here and there; this makes the final shape look better.
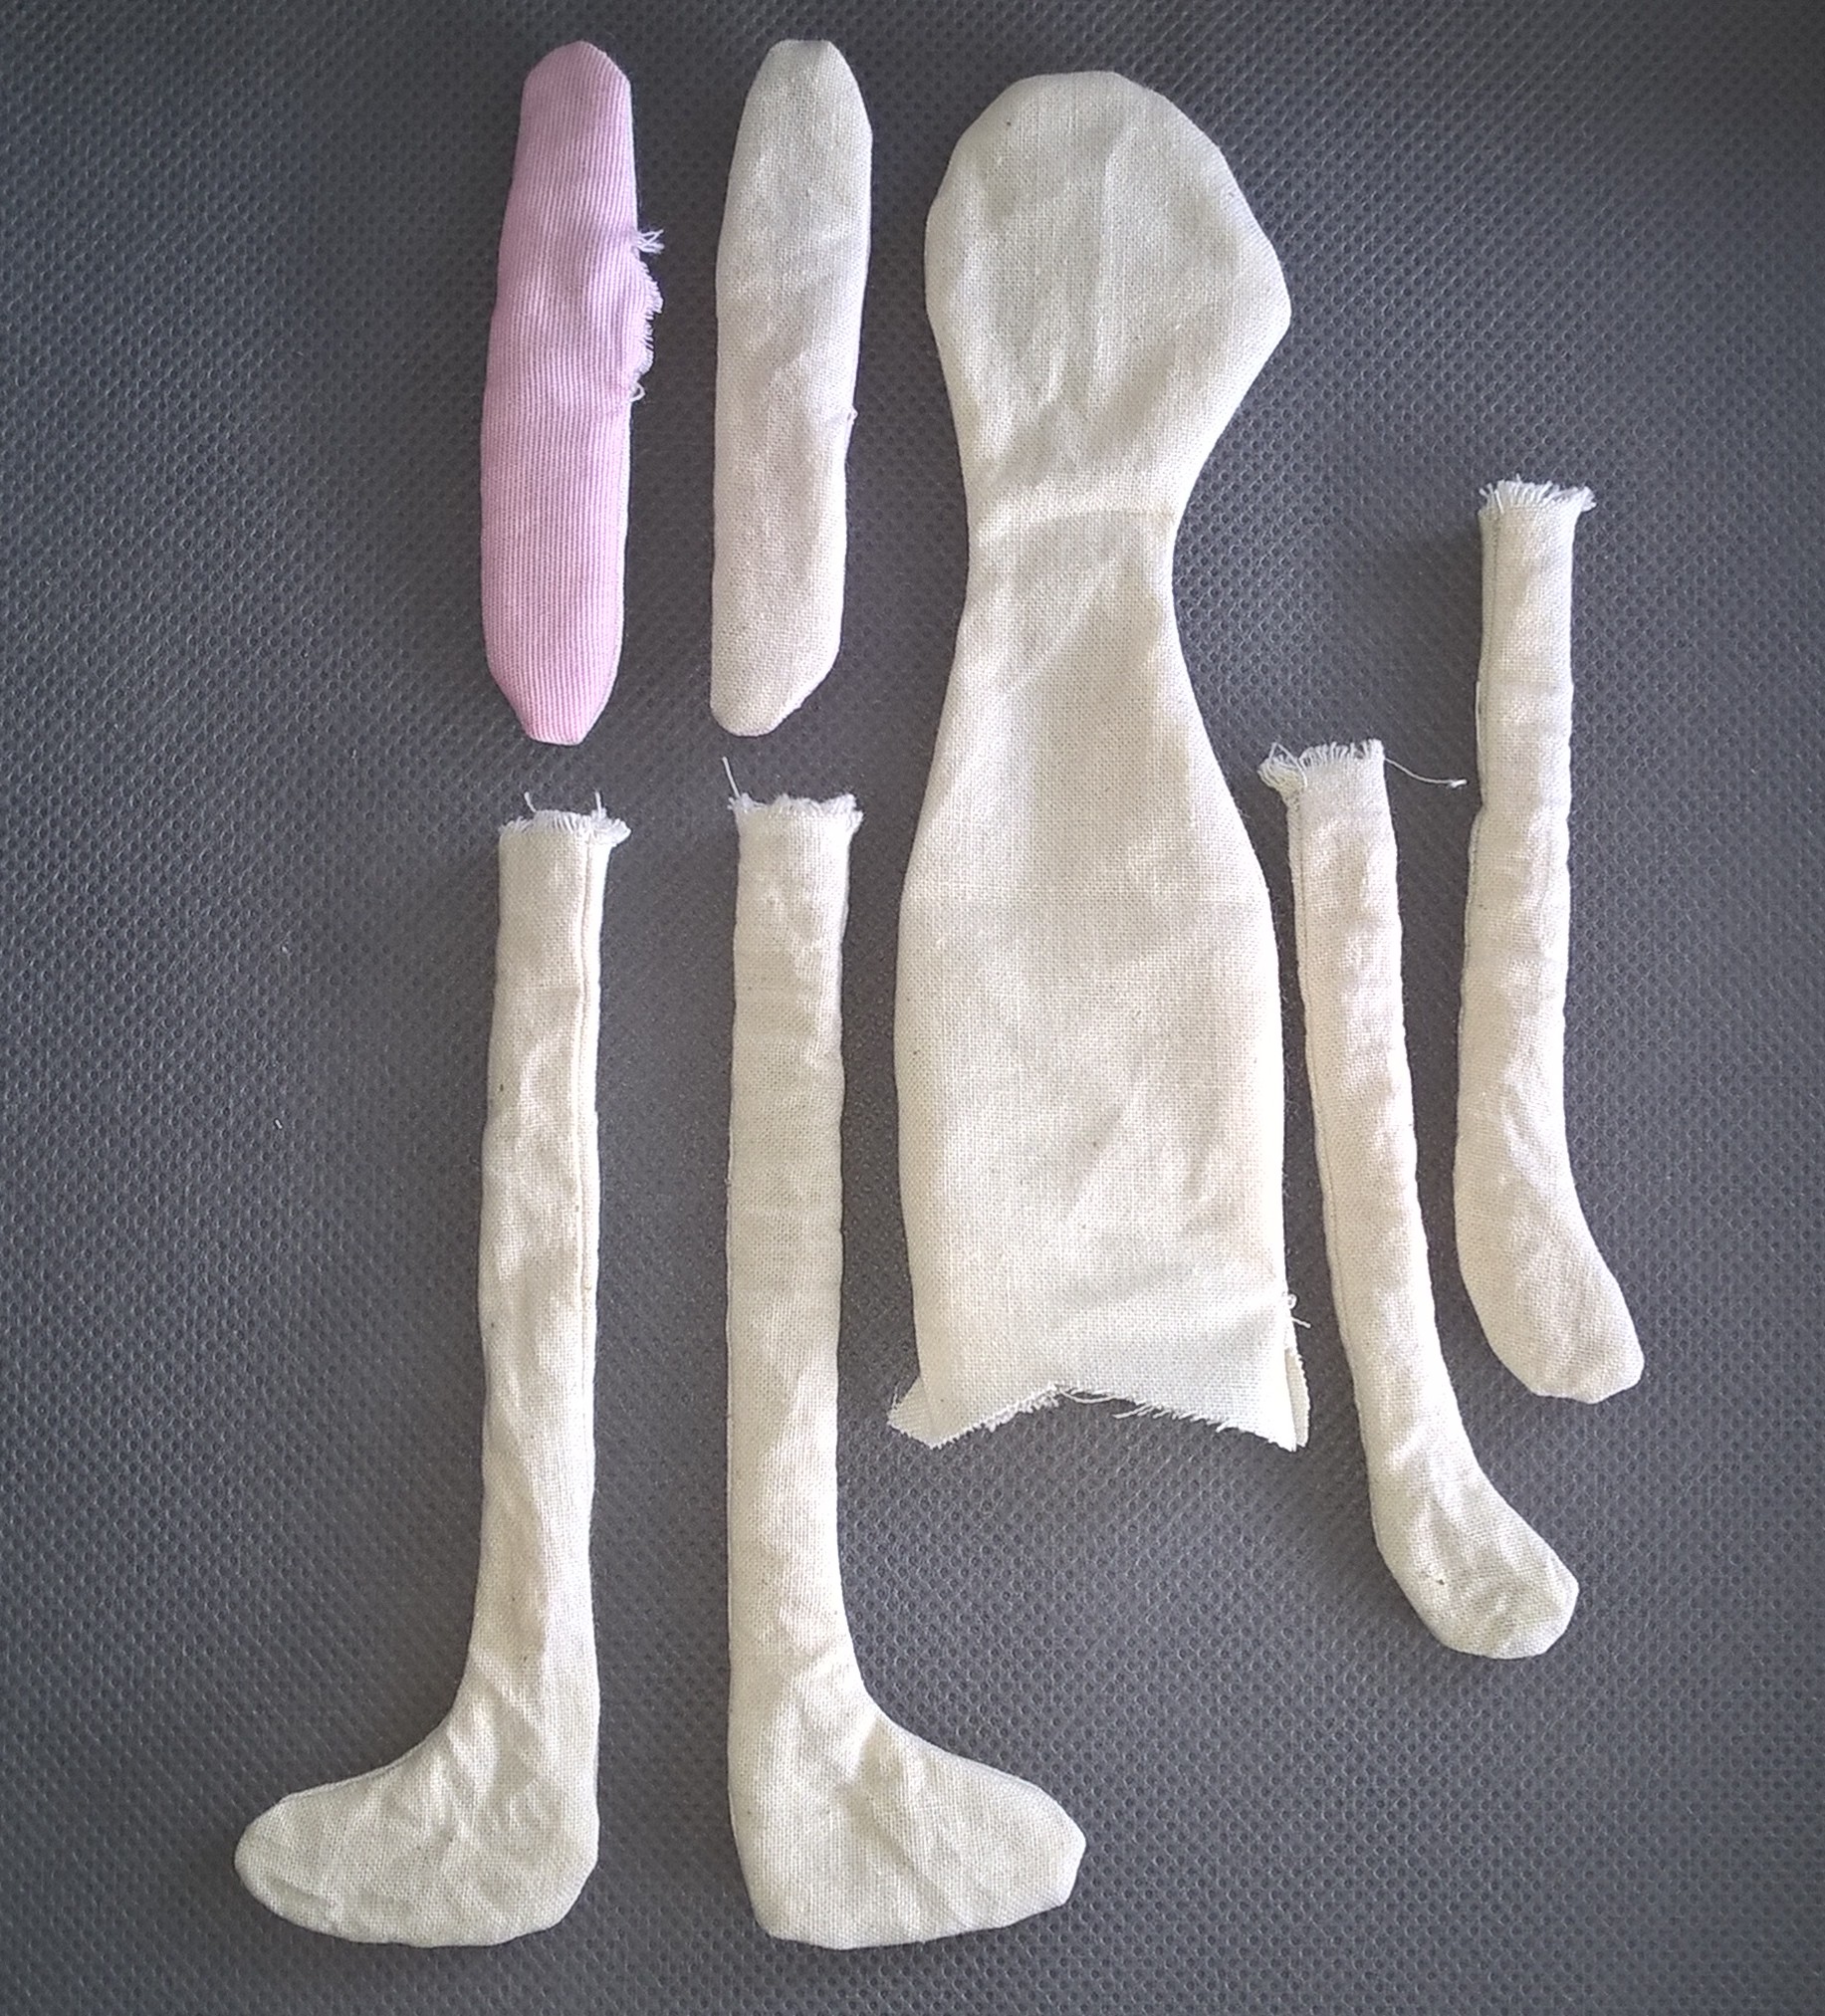
Turning the pieces was quite a fiddly job! That's why I'm also worried about whether I'll be able to do that with even smaller bunnies. Oh well, we'll see. I closed the ears with small stitches on the sides. After that, it's just a matter of stuffing everything and attaching the legs, arms, and ears to the body. I did this by hand. I've made other dolls in the past (also very beautiful, by the way, I'll show you sometime), and in my experience, using a sewing machine is very nerve-wracking. First, I kept holding my breath, and the arms quickly became uneven. I also had the feeling that, despite using the zipper foot, the machine wasn't very happy with it either :).
Using two strands of pink and brown embroidery floss each, I made a nose, mouth, and eyes. I used doll needles for this, which are longer. I inserted the needle through the back of the head and held the longest possible strand of thread through the body to the face. An extra stitch at the end ensures everything stays securely in place. She's still a bit cold, so I made a beautiful princess dress and crown. I want to recreate the "Princess and the Pea" story for this rabbit. I can do this later with the large dollhouse as well. More on that later!